Price: $29.90
(as of May 09, 2024 23:18:15 UTC – Details)

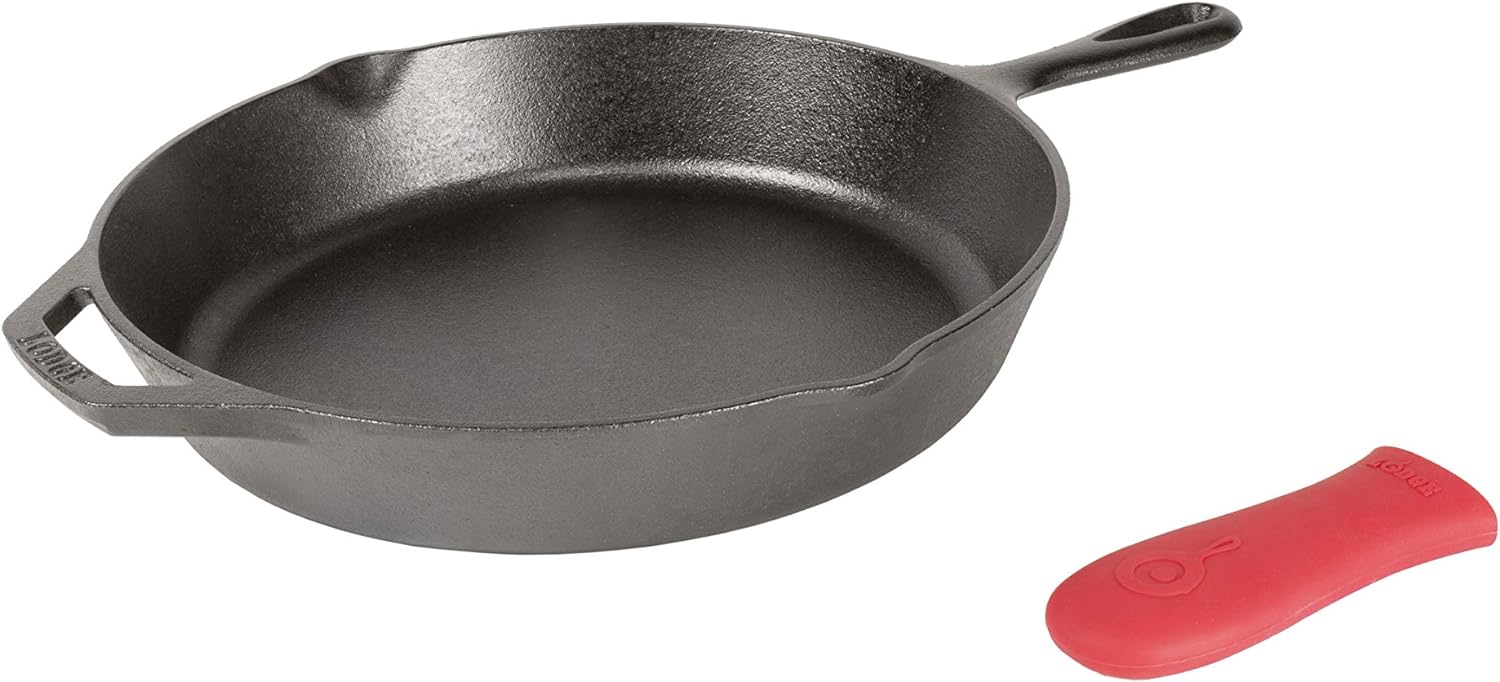
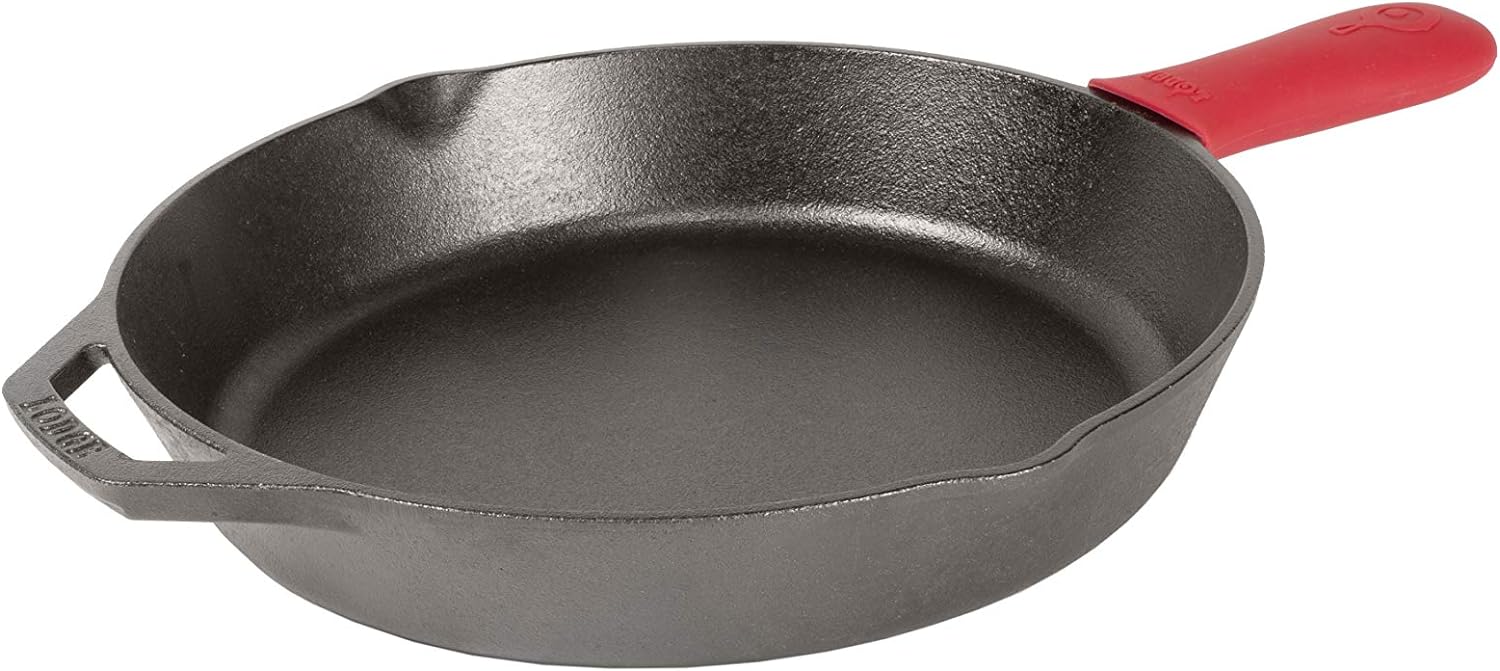
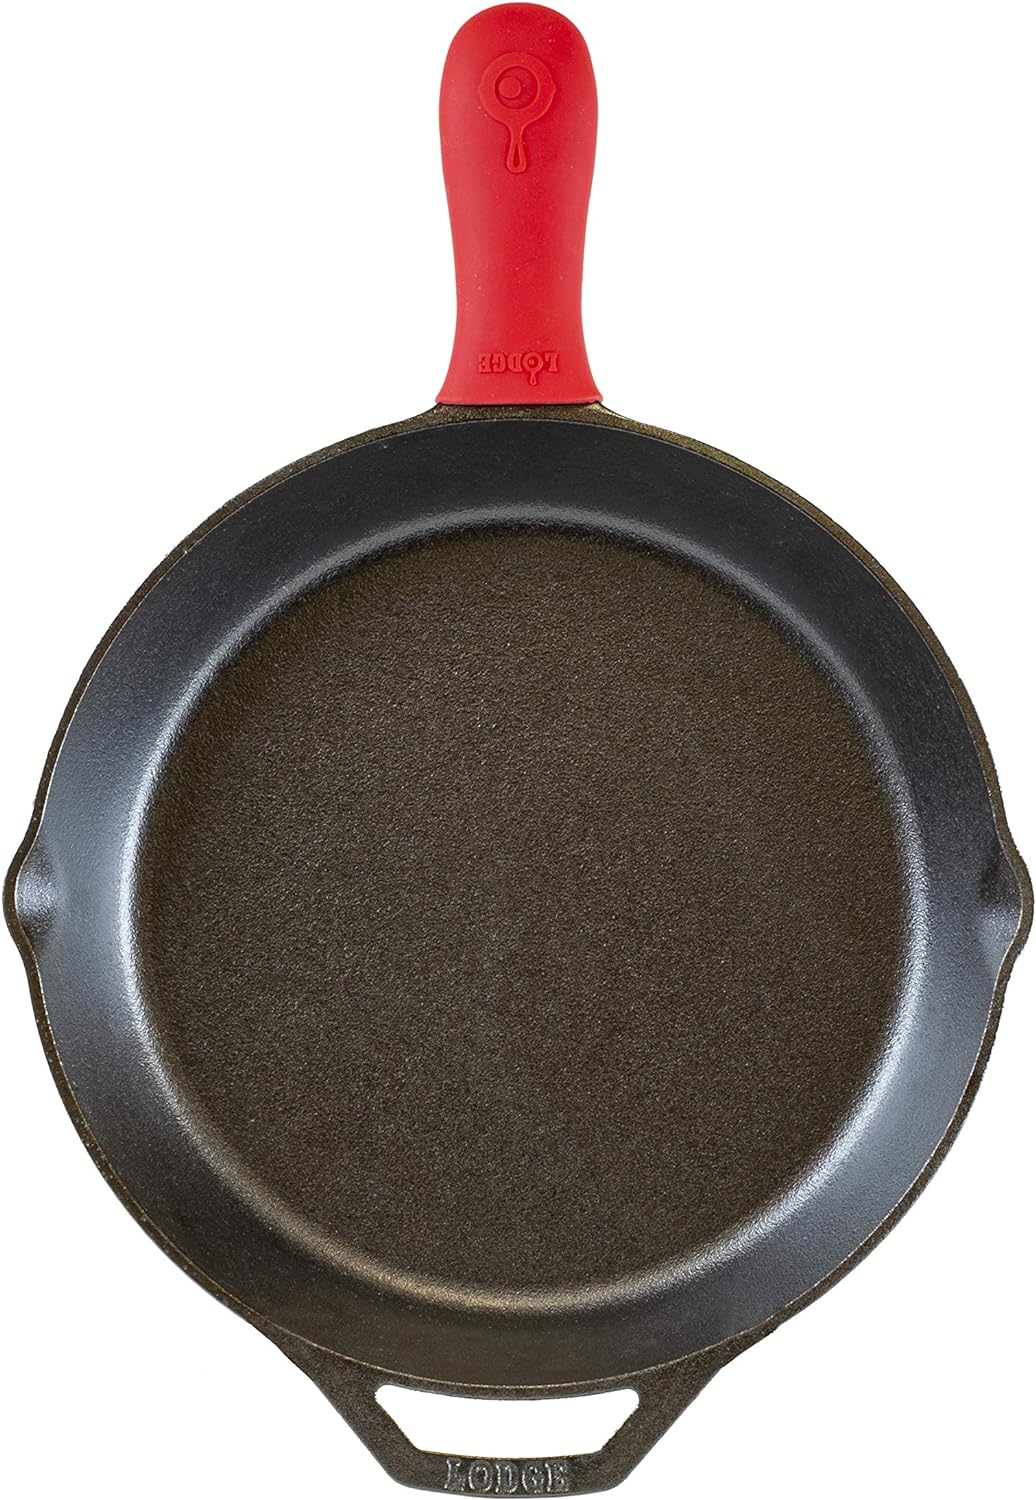
The Lodge 12 Inch Cast Iron Skillet will be your go-to skillet for years to come. Featuring an assist handle for great control and an easy-grip handle for lifting or hanging storage when not in use, it provides excellent heat distribution and retention for consistent, even cooking. It offers an abundance of possibilities. Use to sear, sauté, bake, broil, braise, fry, or grill. This skillet is safe to use in the oven, on the stove or grill, and over a campfire. The Lodge Cast Iron Skillet is brutally tough for decades of cooking and comes pre-seasoned for an easy-release finish that improves with use. Includes one Lodge 12 Inch Cast Iron Skillet and one Silicon Handle Holder. Made in America. Care instructions for cast iron: 1. Wash with warm water. Add a mild soap, if desired. 2. Dry thoroughly with a lint-free cloth or paper towel. 3. Oil the surface of the pan with a very light layer of cooking oil while warm. Hang or store the cookware in a dry place.
One Lodge Pre-Seasoned 12 Inch Cast Iron Skillet with Handle Holder
Assist handle for better control
Unparalleled heat retention and even heating
Pre-seasoned with 100% natural vegetable oil
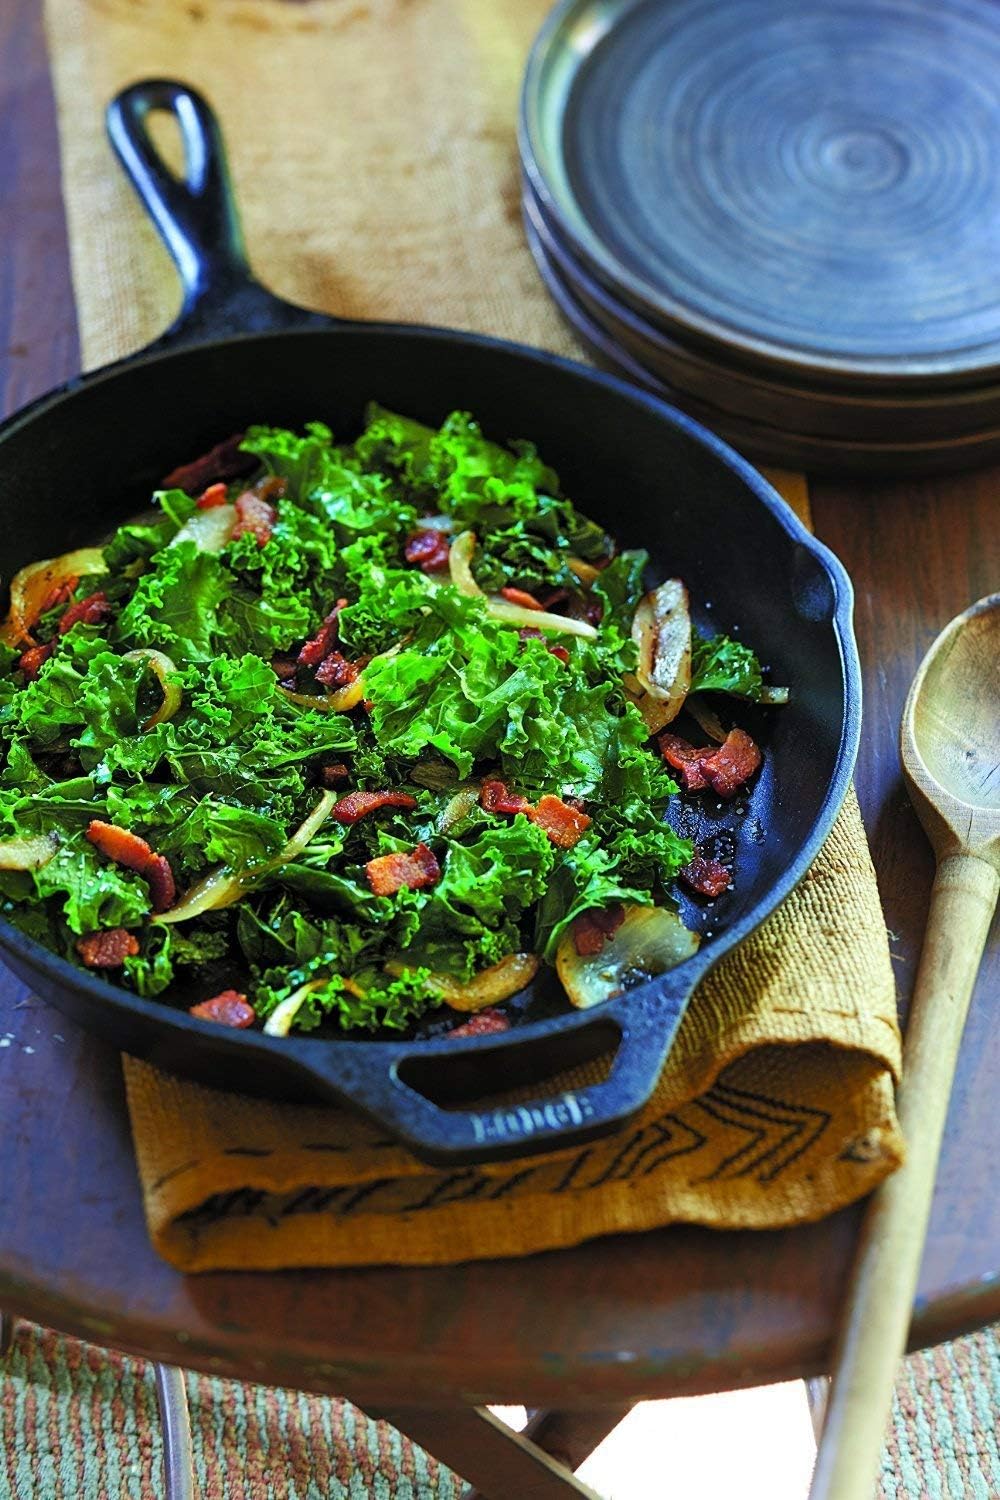
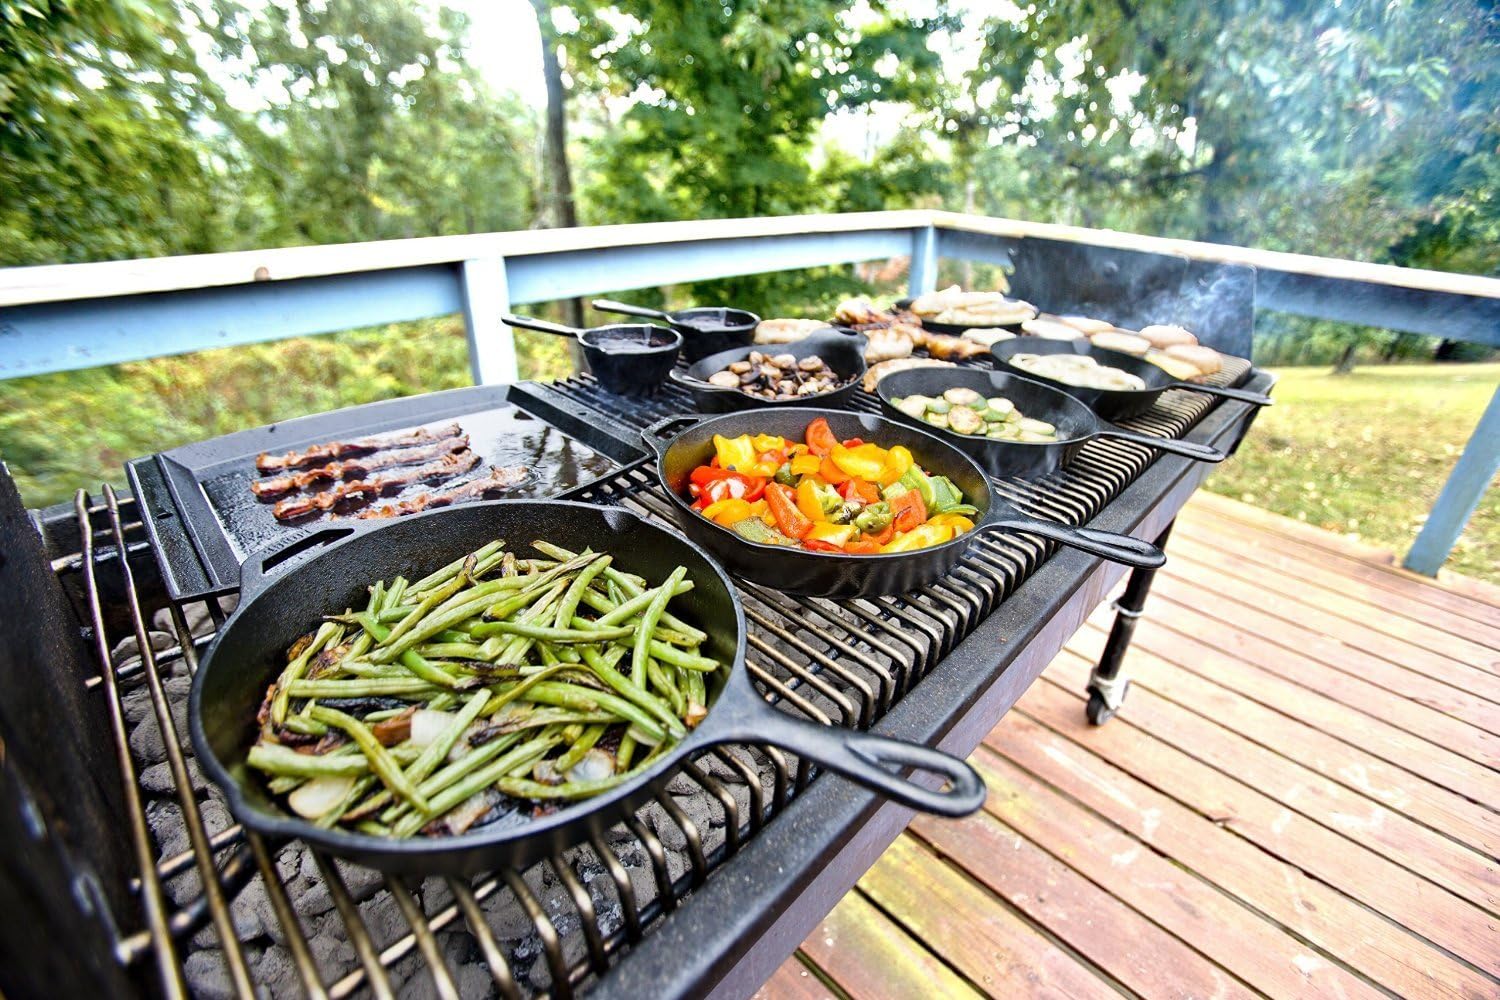
Use to sear, sauté, bake, broil, braise, fry, or grill
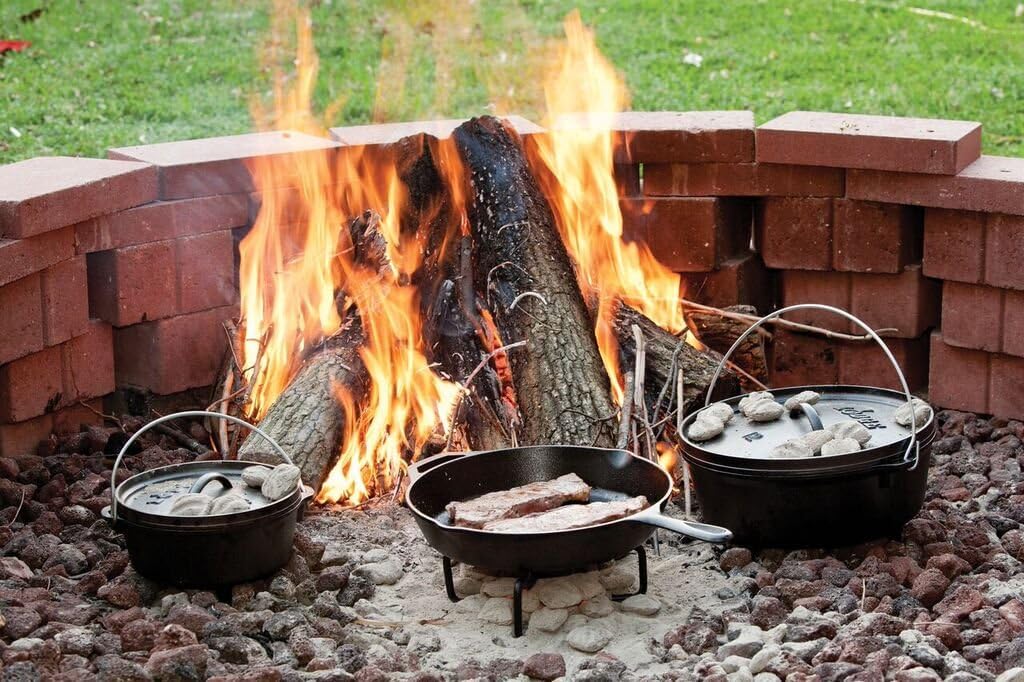
Use in the oven, on the stove, on the grill, or over a campfire
Great for induction cooktops
Silicone handle holder is dishwasher safe and protects hands from heat up to 500° F
Included Components: Lodge Cast-Iron Skillet L10Sk3Ashh41B
13 reviews for Lodge Cast Iron Skillet with Red Silicone Hot Handle Holder, 12-inch
Add a review

$29.90


Knownasjim –
The skillet I always wanted!
Well my skillet and glass lid arrived today in two different deliveries. I almost immediately tried cooking some bacon just to test it out. I put the bacon in the pan and let it heat to medium. According to what I had read online, that would let the bacon render, prevent curling, and make sure it wouldnât stick. When it was time to flip the strips over, I learned that they were pretty much adhered to the pan. I had to scrape it up in little bits.Refusing to be defeated by a pan, I carefully cleaned it with hot water and scrubbed to get off all the stuck bits. Then, I followed the directions to do the stove top seasoning method two times. Once it was cooled all the way, I decided on a major test. I cooked four more strips of center-cut bacon, two over easy eggs, and a kimchi pancake for supper. NOTHING stuck! Everything came out of the pan looking like it had been prepared for a magazine photo article. I waited for the pan to cool down completely, took it to the sink, and rinsed it with hot water. Then, I wiped it dry with a paper towel before giving it a rub down with a nearly non-existent coat of canola oil. It is now sitting on the stove waiting for my next adventure.I am 100% satisfied with this skillet so far. I do caution other buyers to just pretend it is not âpre-seasonedâ and season it. These are the instructions I followed:Seasoning your cast iron skillet on the stovetop is a simple process that builds up a protective layer of polymerized oil, making it naturally non-stick and preventing rust. Here’s a quick guide:What you’ll need:Your cast iron skilletHigh smoke point oil like canola, grapeseed, or avocado oilPaper towelsTongs (optional)Steps:Wash and dry your skillet. Scrub away any food residue with warm water and dish soap. Rinse thoroughly and dry completely with paper towels or heat it on the stovetop over low heat for a few minutes to evaporate any remaining moisture.Heat the skillet over medium heat. Let it get nice and hot for about 5 minutes.Pour in a thin layer of oil. About 1 tablespoon should be enough for a 12-inch skillet. Tilt the pan to coat the bottom and sides evenly.Wipe out the excess oil. Use a paper towel to spread the oil around the pan in a thin, even layer. You don’t want any pooling oil.Heat the oil until it smokes. This takes about 2-3 minutes. Keep an eye on it and adjust the heat if necessary to avoid burning the oil.Turn off the heat and let the pan cool. The oil will polymerize as it cools, creating the seasoned layer.Repeat steps 3-6 two or three more times. Each layer builds upon the previous one, creating a stronger and more durable seasoning.Wipe away any excess oil and store your skillet. Once the pan is cool, use a paper towel to wipe away any remaining oil. Store your skillet in a dry place.
Bonnie –
Perfect cast iron pan
This one is nicer than the more expensive Cuisinart that we have. Heats evenly, cleans easily. Iâve used it at least 10 times now for steaks, pork chops, eggs, fried tomatoes, potatoes, etc. As long as you use it correctly you will have no issues with things sticking. If you are not used to cooking in cast iron, I would recommend that you watch a few YouTube videos first. After you get use to cooking in CI, you wonât want to use anything else.
mustang girl –
My New Go To…
This is my new go to pan. It seasoned up quickly and one night I cooked hot sausage patties. Those took the seasoning over the top, I don’t think anything will stick again. And it browns food like no other. I even seared filet mignon in it and put it in the oven to finish. The outside was textured perfectly. I tried pizza in this pan and it came out delicious. I don’t know if I’ll ever use my grill again.
Jeff T –
Awesome cast iron skillet
Bought this particular skillet because lodge cookware is well known for its high quality. Itâs heavy but it cooks really well, easy to clean and seasoned. Plan on keeping it for years and years.
Kindle Customer –
The perfect cast iron skillet.
This skillet was on sale at a great price. It is also recommended by America’s Test Kitchen. I especially like the second handle as this skillet is heavy; I can’t hold it with one hand but two is very workable. I also like the higher than normal sides. Great for frying chicken, pork chops, etc.
Bill T. –
Still A Great Cooking Pan For The Money
I have a few older Lodge pans, and noticed that the finish on this pan was rougher than the finish on the older pans. However, the rougher finish did not appear to significantly affect it’s performance. I find the non-stick qualities to be just fine without the need for sanding to create a smoother finish. The pan came pre-seasoned, but I oven seasoned it with two coats of Crisco before cooking. It passed the egg test with flying colors. For most applications, I cook at low-medium to medium heat settings. It takes a good 5 minutes for the pan to come up to temp., but once it does it cooks evenly. I’ve used it for pancakes and crepes, and they both brown evenly from end to end. Cast iron is very versatile, and I use it almost as much in the oven as on the cooktop. The Lodge may not be the most stylish pan, but does what it’s supposed to do.
Neem –
Classic Cast Iron
Classic cast iron skillet. Works exactly like all my other cast irons at a cheaper price. The heat handle is nice as well
Erin Brna –
Great skillet
Our first cast iron skillet. Now that it is well oiled and starting to get seasoned I like it even more. I love being able to throw it in the oven too.
Maria –
Iâm surprised by the quality of this pan.Canât wait to start cooking in it
Anuar Alarcon –
Este tipo de sartenes tiene mas de 100 años de historia, es impresionante que tanto su uso como el proceso de fabricacion no ha cambiado mucho. El usar uno de estos sartenes puede ser retador, sobretodo por su preparacion o curacion, asi como el estricto cuidado que debes tener para garantizar un optimo funcionamiento, asi como su durabilidad.Existen muchos videos sobre diferentes tecnicas empleadas para su curacion, pero aqui como en muchos otros casos, lo mas simple es lo mejor.Comparto lo que me ha resultado para su curacion, y poder explotar al maximo la versatilidad del sarten, asi como el generar una capa antiadherente natural.1. Limar con una lija de agua de grano fino todo el sarten, por adentro, afuera, orillas, y mango. Con este procedimiento se asegura uno de retirar todo el precurado con el que viene, que hace que se sienta rugosa la superficie, y que aun precalentandolo, los alimentos se termina pegando y resulta en una experiencia frustrante.2. Enjuagar con agua fria y con un poco de jabon usando una esponja para quitar todo el polvo, es ideal que la apriencia del sarten sea suave al tacto, pulida y lo mas lisa posible.3. El sarten se debe colocar sobre la hornilla a temperatura media para asegurarnos toda el agua y humedad desaparezcan. Siendo de acero fundido, el agua y la humedad son sus peores enemigos.4. Agregar poco menos de una cucharadita de aceite de oliva, canola o linaza. Estos aceites recubren , protegen y no se echan a perder con el tiempo, garantizando la superficie antiadherente, asi como evitan transferir olores o sabores a los alimentos. Frotar el aceite con un trapo por todas las usperficies del sarten, y con otro trapo retirasr el exceso. Una vez completado este paso, y teniendo precalentado el horno a 200 grados se debe colocar el sarten siempre boca abajo por 30 minutos, dejando el aceite se consuma de forma ntaural. Al terminar el tiempo, retirar el sarten con mucho cuidado, y de nueva cuenta agregar aceite siguiendo la descripcion anterior. Esto debe hacerse al menos unas 3 veces cuando el sarten es nuevo, despues solo sera necesario 1 vez segun el uso que se de.5. Dejar el sarten enfriar y revisar al tacto la superficie, debera sentirse lisa, con un aspecto templado y ennegrecido. Esto es normal.Como cuidados basicos, una vez terminado de cocinar en el, nunca pasar al agua fria, pues puede sufrir daños por los cambios de temperatura, lo ideal es solo enjuagar con agua caliente, una esponja suave y secarelo sobre la hornilla. Aplicar un poco de aceite, quitar excesos, y calentar por completo en la hornilla. Siguiendo este proceso, tu sarten durara por muchos años, ofrecinedote sabores unicos, y una versatilidad de usos.Muy recomendable!
Klaus Eberspaecher –
Gute und massive Qualität gute Lösung den Aufsatz für den Pfannenstil zwecks Schutz vor Verbrennungen.Gute Pfanne !
Sun –
Expensive, but a beautifully finished product. Shipping costs are exhorbitant. Heavier than expected, pre-seasoned, effort required to clean. Belied the negative reports by some users; glad to have received a good piece. Silicone handle is somewhat loose.
N312 –
New user to cast iron skillet and honestly it’s been interesting thus far. It’s true that you need to put effort in seasoning the skillet and even after each use it’s good to one-season. But with all the helpful info on the web you’ll get used to the process once you start.One thing I love about the skillet is the sear I get on meats and the fact that I can put it straight in the oven. Bought the 12″ which looks and feels big BUT sufficient space to cook for the family.Lovin it so far: )